
OUTPUT DEVICES
GOALS FOR THE WEEK
- Measure the power consumption of an output device.
- Document your work to the group work page and reflect on your individual page what you learned
- Add an output device to a microcontroller board you've designed and program it to do something.
GROUP
INDIVIDUAL
Link to the group assignment: TEST
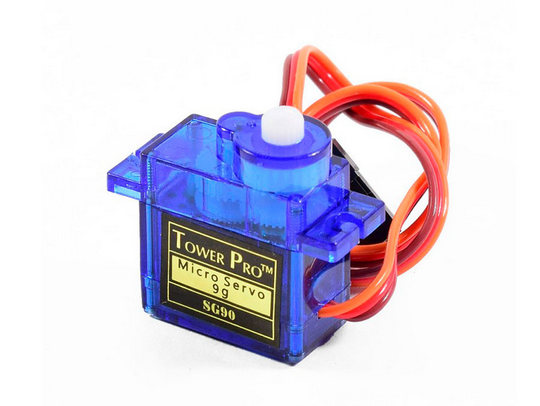
I decided to use a servo motor as my output device as I might use it later in my final project.
SERVO MOTORS
A servomotor is a rotary actuator or motor that allows precise control in terms of angular position, acceleration and speed, capabilities that a normal motor does not have.
As the servo motor runs at 5V and the microcontroller I used works at 3.3v, I needed a level shifter.
USING MOSFET AS A LEVEL SHIFTER
A MOSFET is a transistor , an electrical component that is responsible for regulating the voltage output from a given input voltage.
N CHANNEL vs P CHANNEL MOSFETS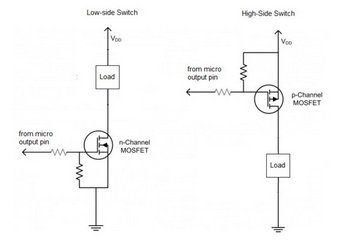
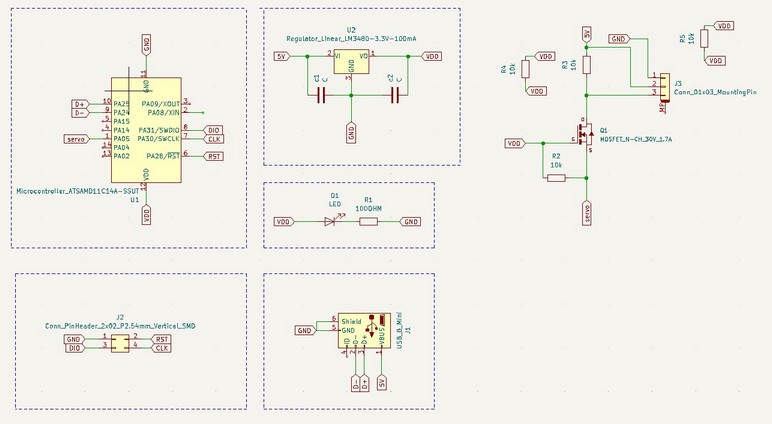
It is possible for a Mosfet to switch different voltages.. The schematic above shows how a voltage can be increased from 3.3V to 5V. The resistor R3 is used as a pull-up ressitor to the higher voltage power supply. The resistor at the gate R2 is a resistor used to prevent damage to the device. The gate in the mosfet will allow current to flow when it recieves 5V.
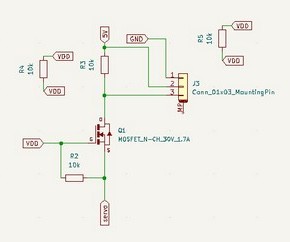
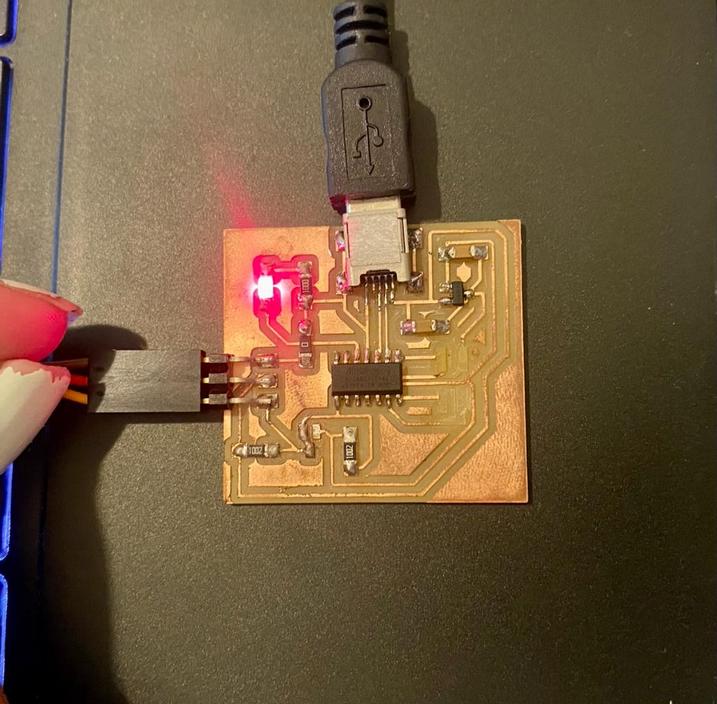
But we ran out of MOSFET's in the lab but I could continue with the same board as a small servo motor can run with a 3.3V from the microcontroller. I connected the 3.3v to the servo directly using a bridge of solder.
SCHEMATIC
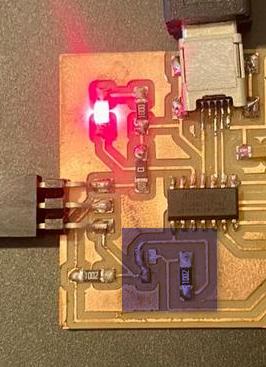
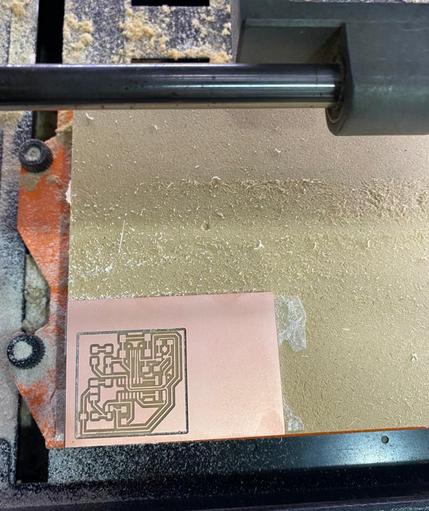
PCB
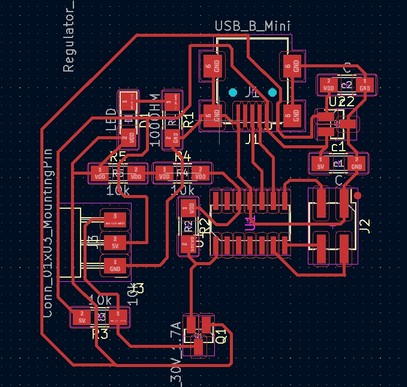
AUTOROUTING EXPERIMENT
Taking the advice of a classmate Eduard almasque, I decided to experiment with autorouting using Layout editor.
- The layout editor can be downloaded from here.
- After installation, you have to extract the freerouting.jar file from layout editor > Bin > freerouting.jar.
- The application requires a .dsn file, so I exported my PCB Layout from Kicad.
- Open the .dsn in freerouting.exe and check and edit parameters for autorouting.
- Check if the parameters such as netclasses have been carried over from Kicad.
- Click on autoroute. You can pause the process when needed and move things around to help the routing.
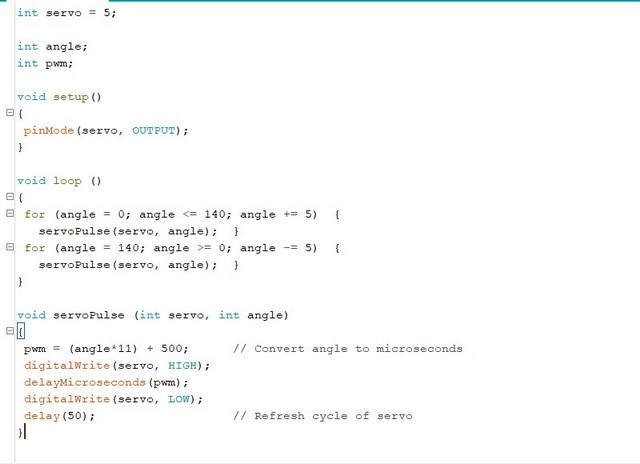
PROGRAMMING USING ARDUINO
THE BOARD
Design files download
KiCad file
Arduino file